For teachers
Engineering standards
This shows how the lesson connects to the national NGSS engineering standards and what student work you can collect.
3-5-ETS1-1
Teams define the user or purpose, success criteria, and limits before building.
What students show: Problem statement with measurable criteria and material constraints.3-5-ETS1-2
Students sketch and compare at least two solutions before choosing or combining features.
What students show: Two labeled ideas and an evidence-based design choice.3-5-ETS1-3
Teams use a repeatable low-tech test—move the same set of user figures through entrances, paths, and play zones—then revise one feature.
What students show: Test notes, before-and-after design, and explanation of improvement.Materials
- Cardboard, paper, foam, and modeling clay
- Craft sticks, string, fabric, tubes, and clean lids
- Small figures or paper people for scale testing
- Rulers, pencils, markers, and planning paper
- Masking tape, glue dots, paper fasteners, clips, and rubber bands
- Scissors and other teacher-approved hand tools
- Reused and student-proposed materials approved before use
Teacher preparation
- Set out a broad materials buffet instead of identical kits.
- Build one small test rig, not a finished example students may copy.
- Mark size, time, and material limits visibly.
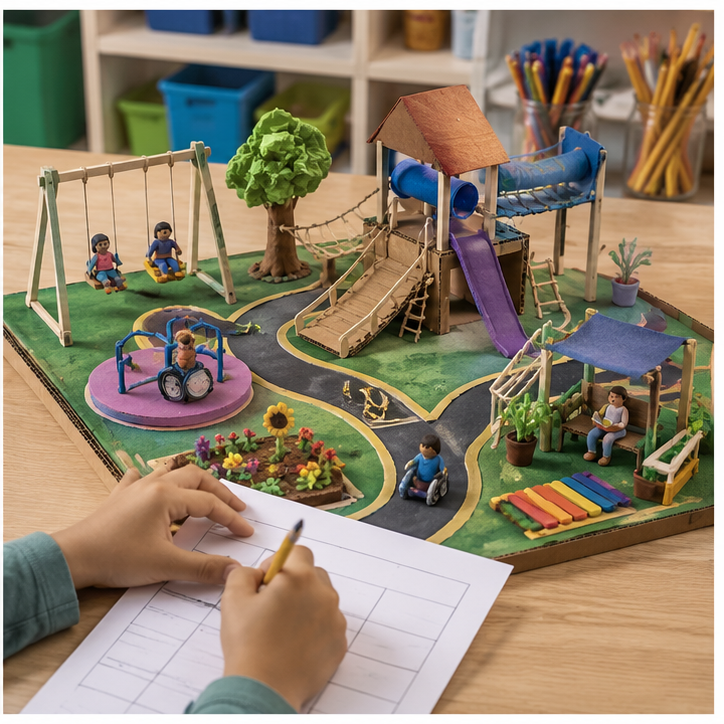
- Prepare a team planning page and shared test-data table.
- Create a safe holding area for drying or unfinished builds.
Step by step
How to teach it
Explore the challenge
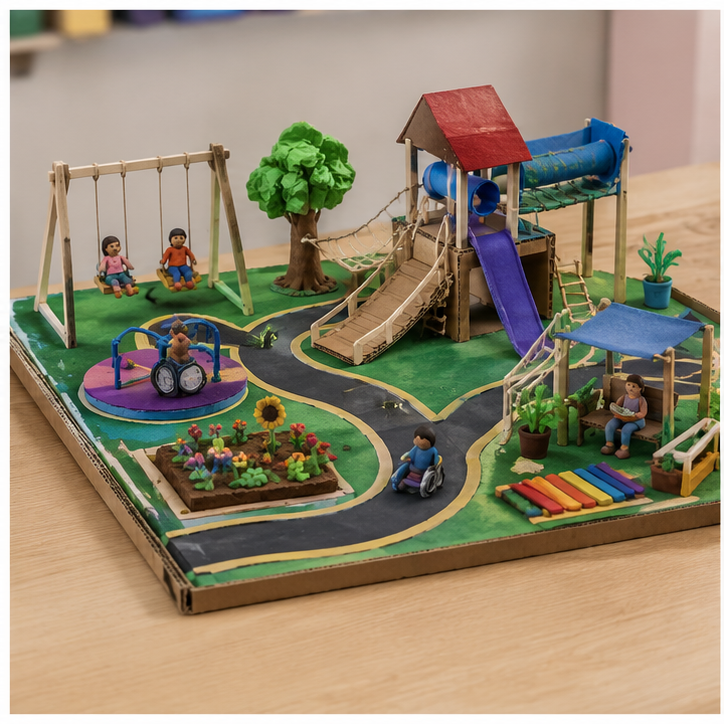
- Introduce the mission: Create a model playground that offers at least three different ways to play and a clear way for everyone to enter.
- Identify the user or audience and what success should look like.
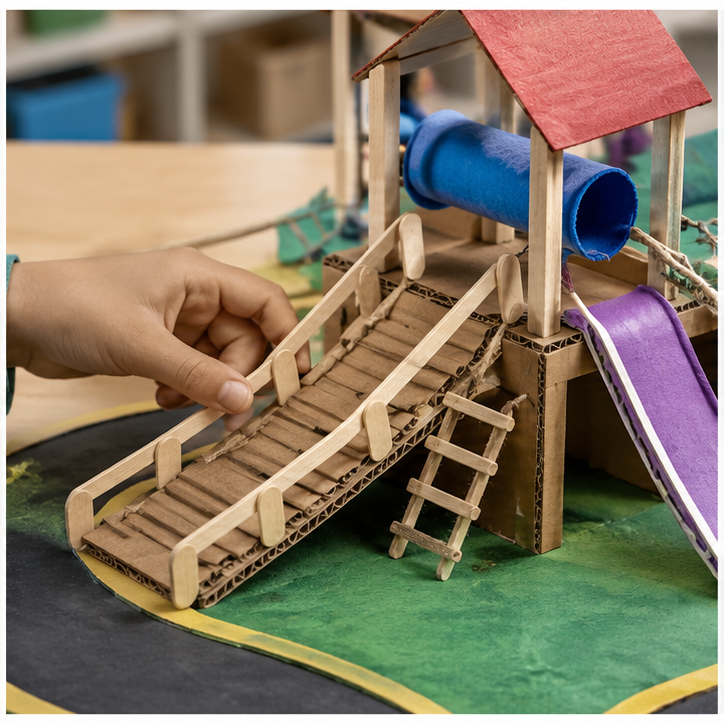
- Explore how sample materials bend, fold, join, compress, slide, or balance.
Imagine and prototype
- Each student sketches a different possibility.
- Teams compare ideas against criteria and constraints.
- Build a quick model using only part of the material budget.
Build and test
- Complete the first working version.
- Use the same procedure each time: move the same set of user figures through entrances, paths, and play zones.
- Record what worked, what failed, and where it happened.
Improve with evidence
- Change one important feature rather than rebuilding randomly.
- Repeat the same test and compare results.
- Add color, surface, form, or story details that strengthen the purpose.
Gallery and challenge round
- Display designs with a one-sentence mission and test result.
- Let visitors try the project using the same rules.
- Teams explain one tradeoff and one idea they would try next.
Assessment
- Problem statement includes a purpose, criteria, and constraints.
- Sketches show meaningfully different ideas.
- Material choices are explained using properties.
- Test is repeatable and produces recorded evidence.
- Revision responds to a specific result or failure point.
Supports & extensions
- Offer picture directions and sample joining techniques.
- Provide pre-cut pieces, adaptive scissors, or larger materials.
- Allow students to explain through drawing, speaking, or demonstration.
- Assign flexible roles: designer, builder, tester, recorder, and artist.
- Extension: reduce material use while maintaining performance.
Safety & responsible use
- Use only clean, teacher-approved reused materials.
- Carry scissors and tools safely; cut away from hands and bodies.
- Cover sharp cardboard corners, wire ends, skewers, or fasteners.
- Use a defined test zone and keep faces away from moving or falling parts.
- Teacher handles hot glue, craft knives, and any tool not approved for students.
No-machine alternative
The entire project is already designed for common classroom materials. Substitute paper folds, tabs, slots, string, tape, or found objects while keeping the same criteria and fair-test cycle.
Printable student design brief
The challenge
Create a model playground that offers at least three different ways to play and a clear way for everyone to enter.
Success criteria
- Includes active, imaginative, and quiet play
- Paths connect the main areas
- Color and form make the space feel welcoming
Constraints
- Fits the assigned base
- Uses figures to check scale
- No single feature may block the main path