For teachers
Engineering standards
This shows how the lesson connects to the national NGSS engineering standards and what student work you can collect.
3-5-ETS1-1
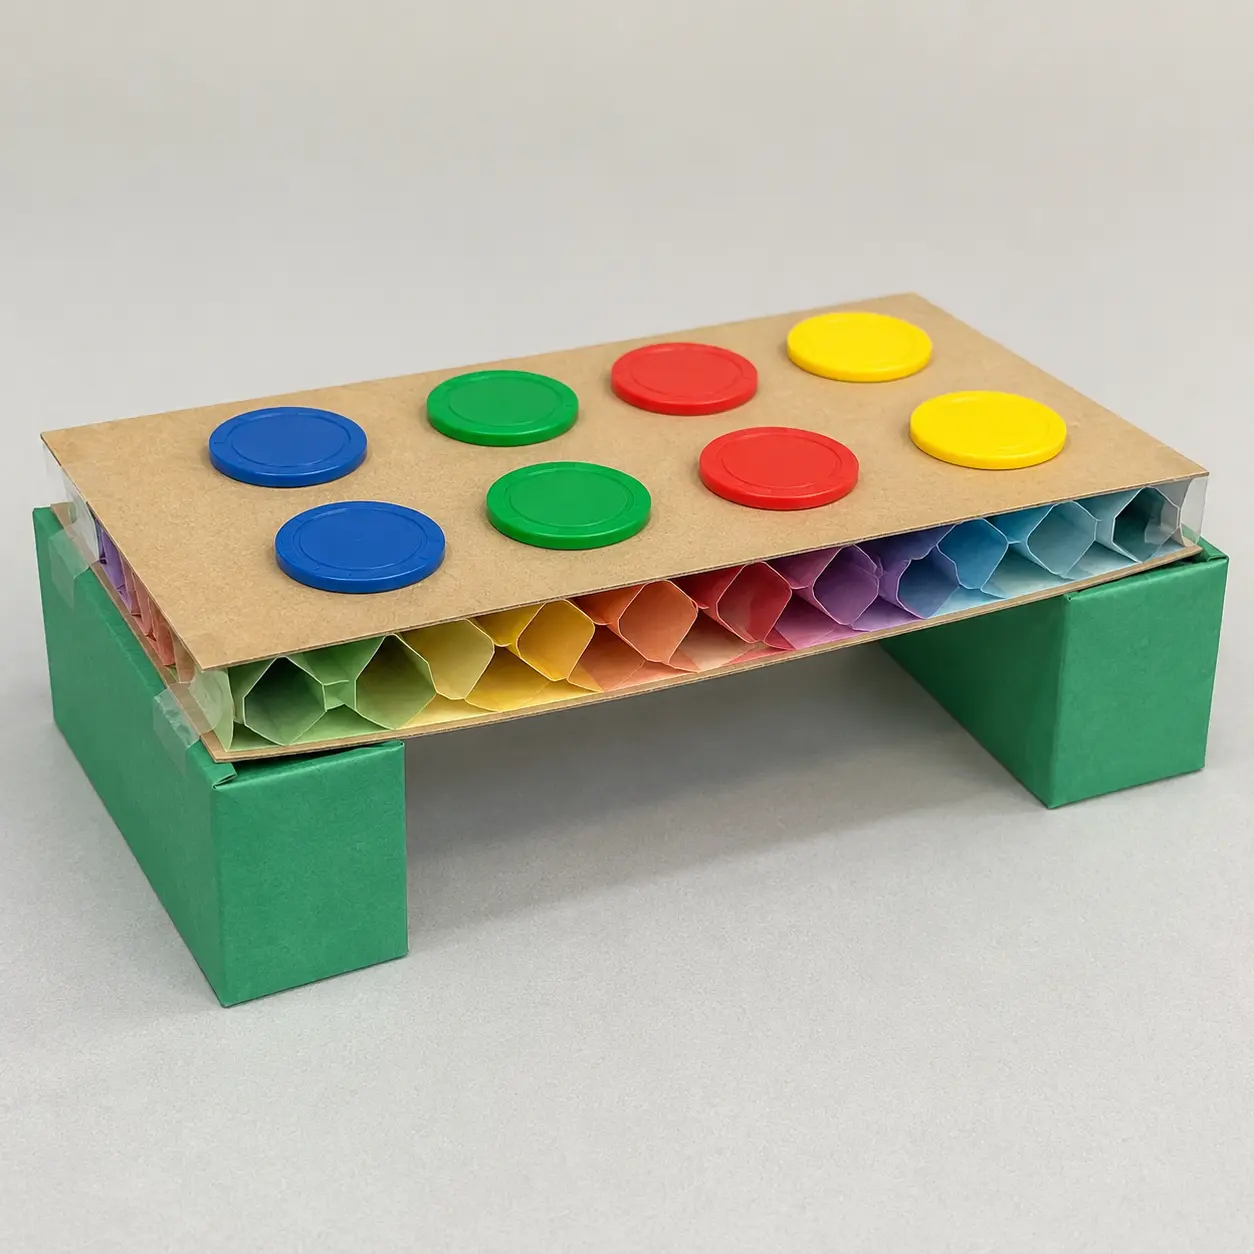
Define the need in Make a lightweight sandwich panel with folded paper cells between two card faces. Agree on the two success checks and the listed material limits.
What students show: Two labeled ideas with the target and limits stated.3-5-ETS1-2
Compare the ideas using the project checks: Core holds the faces apart; Panel supports the agreed small load.
What students show: A selected design with a reason connected to a success check.3-5-ETS1-3
Test, change one feature and retest: Span the same gap and add the same central load to the flat comparison and cell panel. Record bending. Change one cell spacing in a second small sample, keeping face sizes and test load the same.
What students show: Before-and-after results collected under the same conditions.Materials
- Two equal card faces
- paper strips
- tape or glue
- large counters
- two supports
- Pencil, planning paper and the printable design brief below
Teacher preparation
- Gather per-pair materials: Two equal card faces; paper strips; tape or glue; large counters; two supports.
- Make one rough sample and rehearse the exact test: Span the same gap and add the same central load to the flat comparison and cell panel. Record bending.
- Set the size, load or distance marks mentioned in the steps before class. Demonstrate an ordinary first attempt, not a perfect model to copy.
- Prepare any holes, fasteners or difficult cuts for students. Check the stated safety note and clear the testing space.
Step by step
How to teach it
See the job and plan
- Introduce the finished object: Make a lightweight sandwich panel with folded paper cells between two card faces.
- Sketch the side view of a flat panel and one with an internal paper core. Mark the equal test span.
- Students say what would count as a successful result.
Model the unfamiliar action
- Demonstrate slowly: Fold paper strips into repeated zigzags or loops of equal height.
- Pause so partners can repeat the action; provide prepared parts if cutting or folding blocks progress.
Build the first version
- Fix the cells between the card faces, keeping them upright. Allow glue to dry before loading.
- Partners swap builder and checker roles halfway through. Check the working part before decorating.
Try once and save
- Run one trial of the stated test to locate an obvious problem. Do not count a changed procedure as a fair comparison.
- Label and store the model; sketch its current shape and clear the work area.
Predict and set up
- Revisit the two success checks. Agree on identical starting conditions and prepare a before/after results table.
Collect evidence
- Span the same gap and add the same central load to the flat comparison and cell panel. Record bending.
- One student operates while the other records. Swap for a later trial while noting a change of operator if it affects the result.
Change one thing
- Change one cell spacing in a second small sample, keeping face sizes and test load the same.
- Keep the original results rather than replacing them with only the best attempt.
Explain and clean up
- Submit the cross-section, material count and bending comparison. Explain the core’s role.
- Collect the brief and results; separate reusable materials and clean the test area.
Assessment
- Core holds the faces apart
- Panel supports the agreed small load
- Student demonstrates the actual task: Span the same gap and add the same central load to the flat comparison and cell panel. Record bending.
- Record includes failures as well as successes.
- Student identifies one changed feature and uses the retest to explain the result.
Supports & extensions
- Provide a worked first joint or sample; have students record dimensions and explain one comparison limitation.
- Start with the smallest working version of paper cell panel before decoration.
- Extension after success: choose one more value for the same tested feature, predict its effect and repeat span the same gap and add the same central load to the flat comparison and cell panel.
Safety & responsible use
- Teacher checks materials and test conditions before use. Use classroom scissors; adults prepare difficult cuts, holes and fasteners.
- No powered tools, coding, hot glue or electrical circuits are required. Keep moving objects contained and test loads light.
- Keep pieces on the tabletop, do not mouth materials and stop if a part tears into a sharp or loose hazard.
No-machine alternative
Use prepared paper parts, larger pieces or an adult-assisted version of the same build. Keep the functional task: Make a lightweight sandwich panel with folded paper cells between two card faces. If physical testing is not possible, label sketches as predictions rather than measured results.
Printable student design brief
The challenge
Make a lightweight sandwich panel with folded paper cells between two card faces.
Success criteria
- Core holds the faces apart
- Panel supports the agreed small load
- Record the stated test and explain one revision
Constraints
- Use only the listed teacher-approved materials
- Stay within the teacher-set size, load and test-space limits
- Two 45-minute meetings; keep the first version simple