For teachers
Engineering standards
This shows how the lesson connects to the national NGSS engineering standards and what student work you can collect.
3-5-ETS1-1
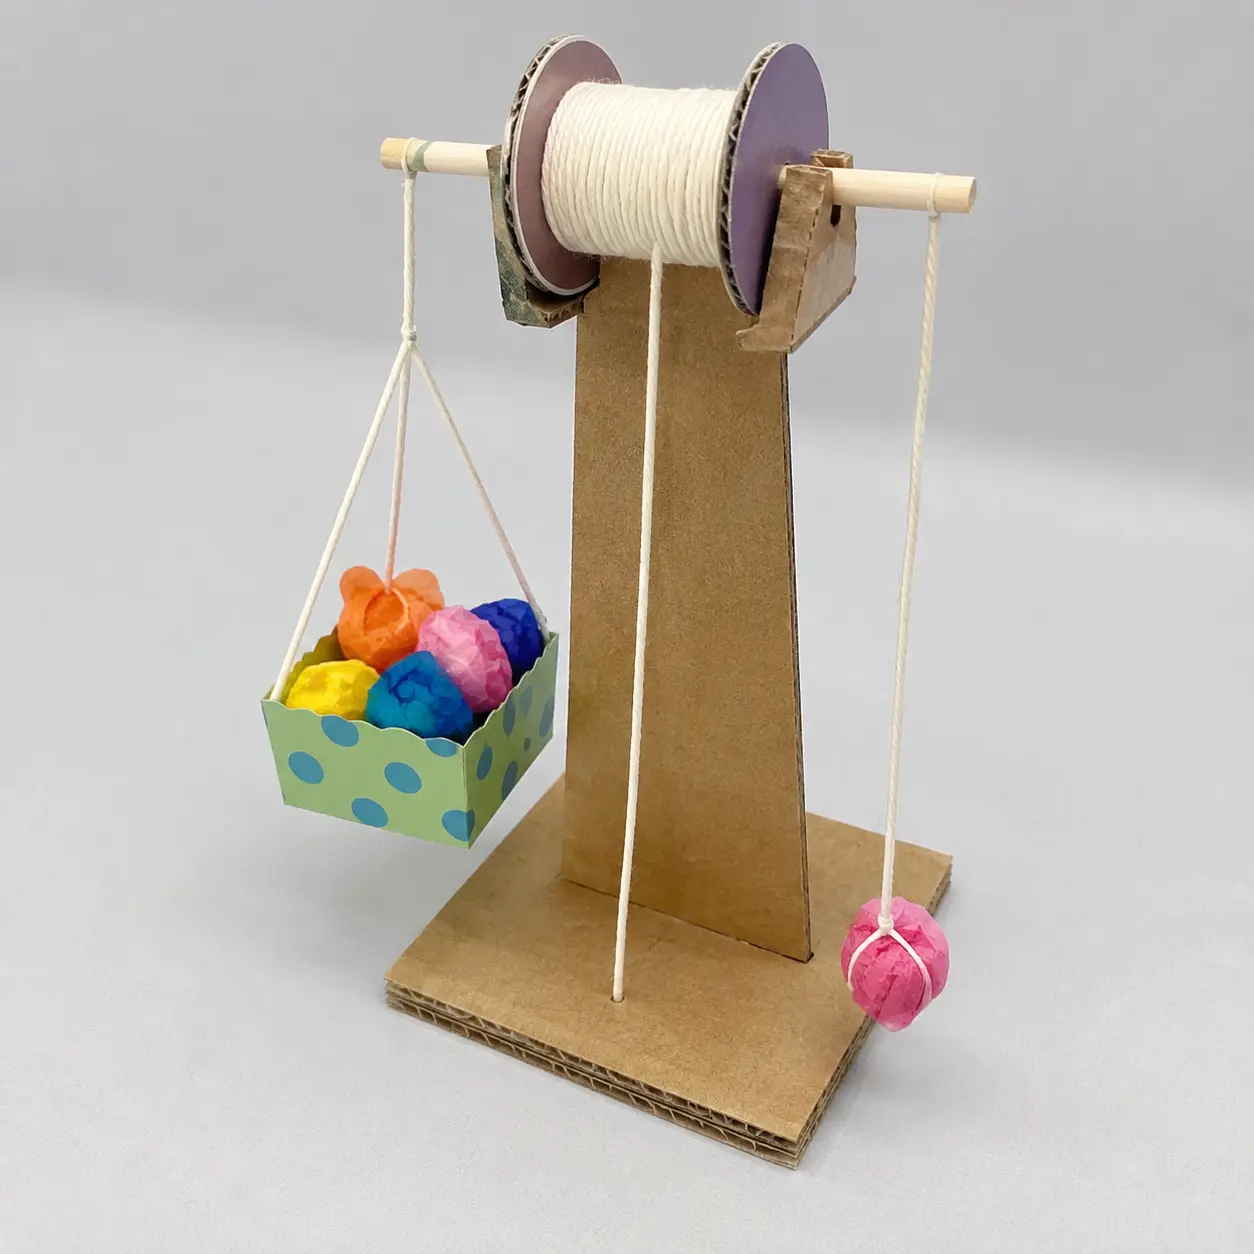
Define the need in Make a small model that changes a downward pull into an upward movement of a light paper basket. Agree on the two success checks and the listed material limits.
What students show: Two labeled ideas with the target and limits stated.3-5-ETS1-2
Compare the ideas using the project checks: Basket rises when the free end is pulled down; String remains in the pulley path.
What students show: A selected design with a reason connected to a success check.3-5-ETS1-3
Test, change one feature and retest: Pull down a measured short distance and record how far the basket rises in three trials. Change one rubbing guide or basket attachment and repeat with the same light load.
What students show: Before-and-after results collected under the same conditions.Materials
- Teacher-prepared spool pulley on stand
- cotton string
- paper basket
- paper balls
- ruler
- Pencil, planning paper and the printable design brief below
Teacher preparation
- Gather per-pair materials: Teacher-prepared spool pulley on stand; cotton string; paper basket; paper balls; ruler.
- Make one rough sample and rehearse the exact test: Pull down a measured short distance and record how far the basket rises in three trials.
- Set the size, load or distance marks mentioned in the steps before class. Demonstrate an ordinary first attempt, not a perfect model to copy.
- Prepare any holes, fasteners or difficult cuts for students. Check the stated safety note and clear the testing space.
Step by step
How to teach it
See the job and plan
- Introduce the finished object: Make a small model that changes a downward pull into an upward movement of a light paper basket.
- Draw the string route over the pulley and mark the directions of pulling and lifting.
- Students say what would count as a successful result.
Model the unfamiliar action
- Demonstrate slowly: Make a light basket and attach the string securely with the teacher’s method.
- Pause so partners can repeat the action; provide prepared parts if cutting or folding blocks progress.
Build the first version
- Pass the string over the prepared pulley; keep the stand secured and the load just above the tabletop.
- Partners swap builder and checker roles halfway through. Check the working part before decorating.
Try once and save
- Run one trial of the stated test to locate an obvious problem. Do not count a changed procedure as a fair comparison.
- Label and store the model; sketch its current shape and clear the work area.
Predict and set up
- Revisit the two success checks. Agree on identical starting conditions and prepare a before/after results table.
Collect evidence
- Pull down a measured short distance and record how far the basket rises in three trials.
- One student operates while the other records. Swap for a later trial while noting a change of operator if it affects the result.
Change one thing
- Change one rubbing guide or basket attachment and repeat with the same light load.
- Keep the original results rather than replacing them with only the best attempt.
Explain and clean up
- Submit the movement arrows and distances. Explain that this single fixed pulley changes direction, not automatically the force required.
- Collect the brief and results; separate reusable materials and clean the test area.
Assessment
- Basket rises when the free end is pulled down
- String remains in the pulley path
- Student demonstrates the actual task: Pull down a measured short distance and record how far the basket rises in three trials.
- Record includes failures as well as successes.
- Student identifies one changed feature and uses the retest to explain the result.
Supports & extensions
- Provide a worked first joint or sample; have students record dimensions and explain one comparison limitation.
- Start with the smallest working version of pull down, lift up before decoration.
- Extension after success: choose one more value for the same tested feature, predict its effect and repeat pull down a measured short distance and record how far the basket rises in three trials.
Safety & responsible use
- Teacher checks materials and test conditions before use. Use classroom scissors; adults prepare difficult cuts, holes and fasteners.
- No powered tools, coding, hot glue or electrical circuits are required. Keep moving objects contained and test loads light.
- Only light paper loads; no overhead lifting or string loops around bodies. Adult secures the stand.
No-machine alternative
Use prepared paper parts, larger pieces or an adult-assisted version of the same build. Keep the functional task: Make a small model that changes a downward pull into an upward movement of a light paper basket. If physical testing is not possible, label sketches as predictions rather than measured results.
Printable student design brief
The challenge
Make a small model that changes a downward pull into an upward movement of a light paper basket.
Success criteria
- Basket rises when the free end is pulled down
- String remains in the pulley path
- Record the stated test and explain one revision
Constraints
- Use only the listed teacher-approved materials
- Stay within the teacher-set size, load and test-space limits
- Two 45-minute meetings; keep the first version simple